Tableau Custom Icon
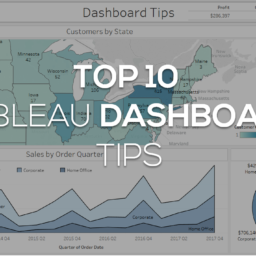
No matter how well you label your Tableau dashboard, there are always questions. When I first started consulting I use to have a meeting after every completed dashboard to explain what I did and what everything meant. Lately, I have been trying to find ways to reduce times so that I can use more of it to develop. I recently started to add information icons using Tableau custom icons on every dashboard explaining everything I would in the meetings I was having. This new approach now saves me time and also keeps the information on the dashboard so the end users can always reference it in the future. Here are the steps on how to create an information icon worksheet where you can put notes for the end user to find.
1. FIND AN ICON
Go to a website where you can download Icons, search for the icon you want and download it. I usually select the companies color, PNG format and the 32px option. Once you click your size, it will download to your computer.

2. MOVE THE ICON TO YOUR MY TABLEAU REPOSITORY
Find where the icon downloaded to (usually the “Downloads” folder) and copy it. You will then go to your “My Tableau Repository → Shapes”, create a new folder called Custom Icons and paste the icon into that new folder.

3. CREATE A CALCULATED FIELD
Go back to Tableau and create a calculated field called Blank and make the value blank by putting 2 quotation marks (“”).

4. MOVE IT TO THE SHAPE MARK
Change the mark card to Shape and place the new calculation field on the shape box.

5. APPLY YOUR TABLEAU CUSTOM ICON
Select the Tableau Shape Mark box and reload the shapes, you will then see the custom icon folder where you can apply the new Information Icon.

6. CLEAN IT UP
Hide the headers, title, borders, resize the icon, change the background color and anything else you want to do (be creative).
7. ENTER YOUR NOTES IN THE TOOLTIP
From here you will enter the information you want in the tooltip and voalá, it’s done! Drag the worksheet into your dashboard so your end users will have all the right information in the right place.

FREE BONUS!
If you want to see the websites I use to get icons for my dashboards, download the free guide below.